DAC Portal
Welcome to the DAC Portal documentation! If you are involved in governance or legal aspects, technical or operational aspects, or serving as a data steward, this page will be helpful for you. By exploring these materials, you can define your own Data Access Committee and policies, understand the minimal requirements for a DAC and a policy object, and comprehend how EGA data access requests are managed.
DAC Portal Index
Step by step guide
- Register yourself as an EGA user.
- Once your account is active you can login to the DAC Portal.
We recommend you to check out the Take The Tour!
Create a DAC
- Click on Create a DAC
- Add a title and a description to your DAC


Edit a DAC
- Once your DAC is registered, you can edit it and add contacts. Remember you can add as many contacts as needed. And, you can also remove/add a contact anytime.
- To add a contact, you must write the username, email or organisation of a registered EGA user in Members. Once you have typed the whole username or email, a drop-down menu will appear where you can select the contact.
- Select a contact from the drop-down menu. Make sure you write the full username or email of the contact so it appears as an option.
- Make sure that you select one main contact.
- Make sure you select the role you want to grant to the new contact of the DAC.
- Once you have added all the relevant contacts and set the roles, you can create Update. The new member will receive an invitation and they can accept or decline it


We recommend you to check out the FAQ to learn more about the different roles!
Create a policy
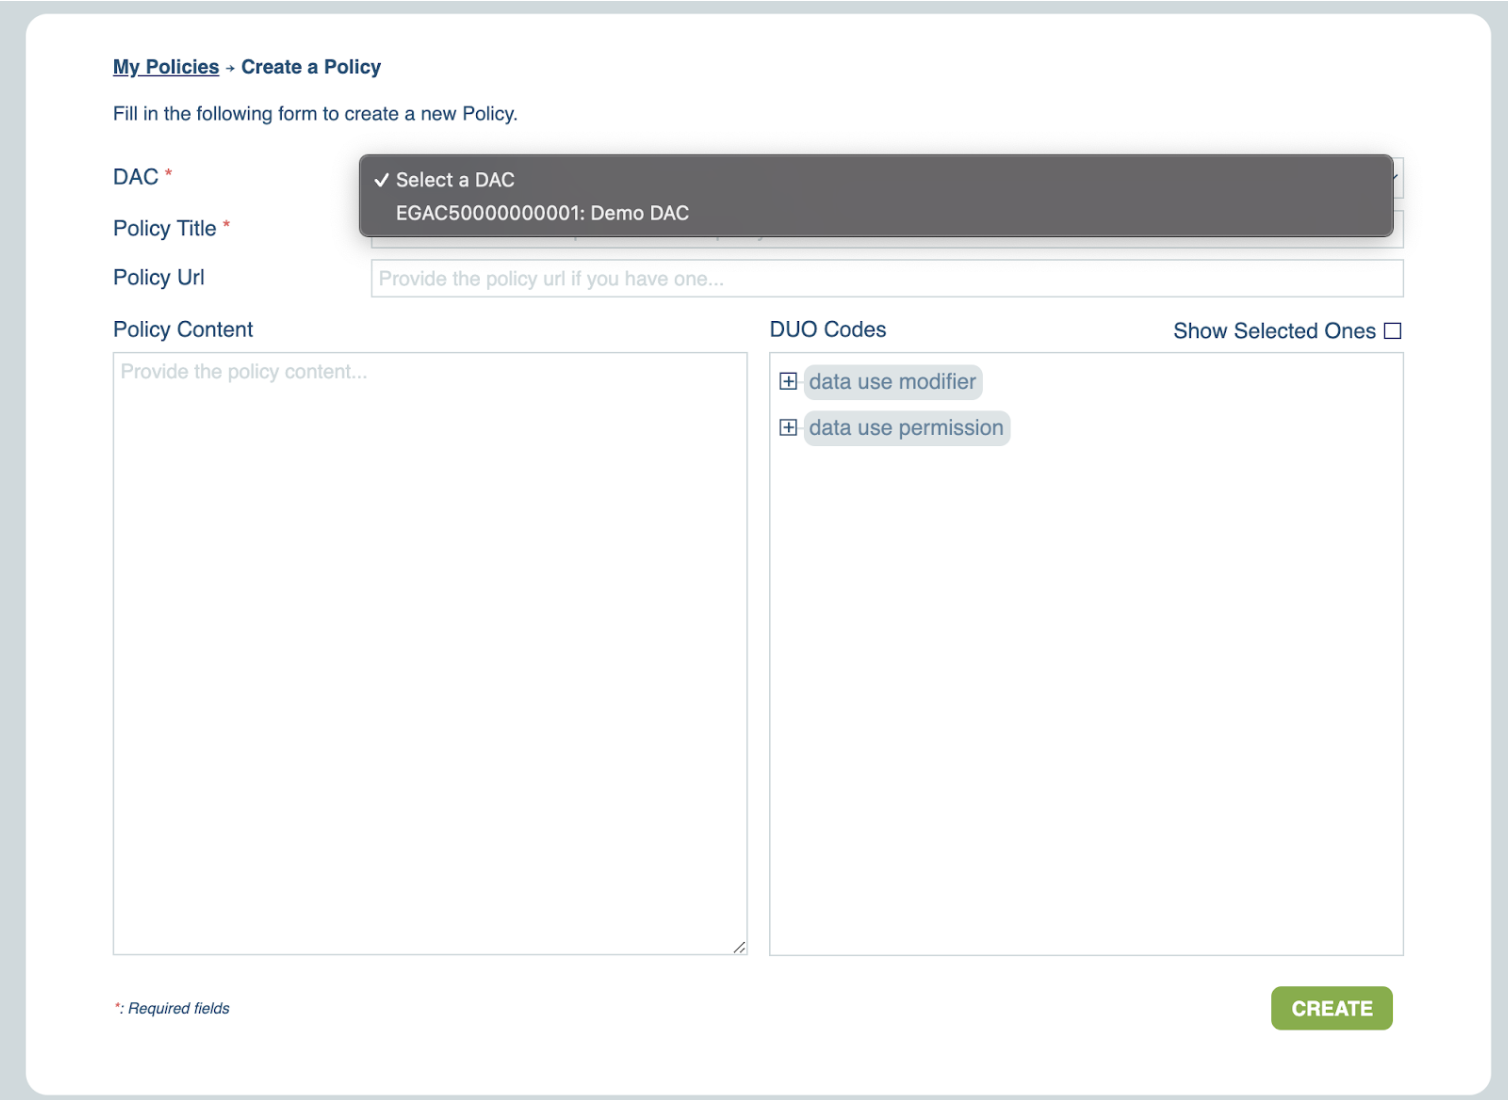
- Select Create a Policy from the Policies tab.
- Select the DAC that you want to link to your policy. Add a title and the terms and conditions for using your data. If you already have this information available on another website, you could add the URL as well.
You can find a template of a Data Access Agreement (DAA) document in our Policy documentation page. The DAA template is provided for guidance only and should be adapted as you see fit to suit your own purpose. - You can also add Data Use Ontologies to your policy. These codes are used to semantically tag the terms and conditions of using the data linked to the policy (example). For more information refer to the Data Uso Ontology documentation.


Edit a policy
- You can check your registered policies on My policies, available at the menu in the top-right corner.
- Select your policy and modify the information.
- Once you are done with the modifications, click Update.

Manage Data Requests
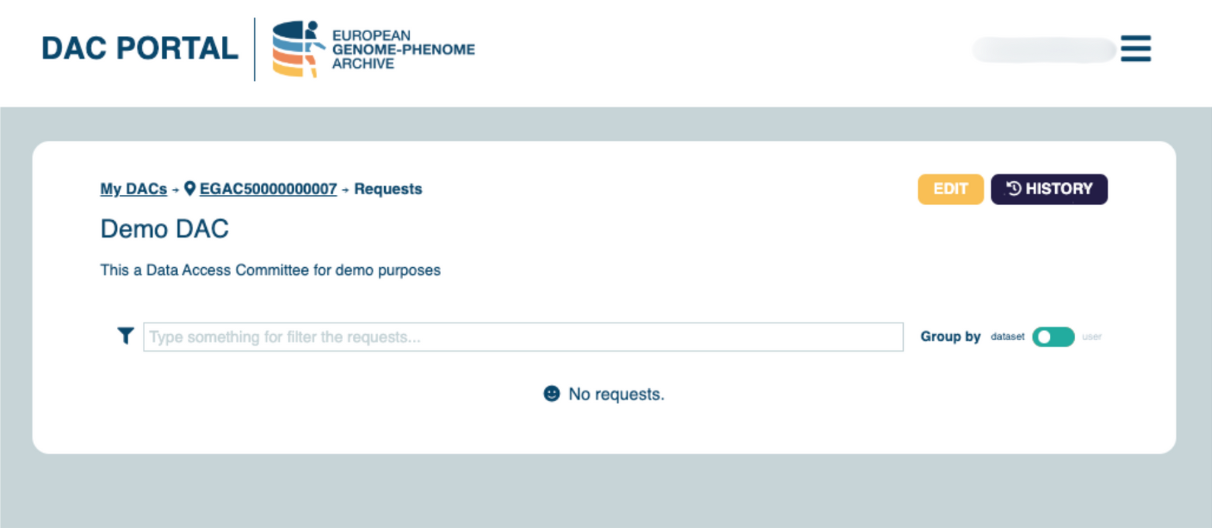
- After receiving a data request, each time that you log in to the DAC Portal, you will see a sand clock icon with number of pending requests next to the DAC id. Click on the DAC to check the requests.
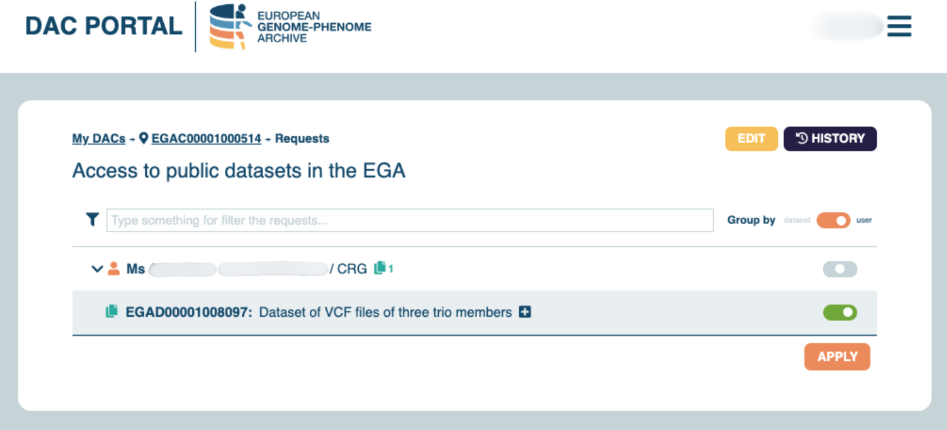
- You can order the requests by dataset id or by user. Each DAC can decide how to visualise their requests depending on their preferences.
- By dataset:
- By user:
- You can accept (right) or decline (left) the request, one by one or all at once.
- Bear in mind that when you decline a data access request you must add a description on why the request was denied.


Check the history page
- You can check the history of all the requests your have received to your DAC and see the current permissions of all users to your datasets. Click on the top-righ HISTORY button.
- In red you can see the denied requests and/or the permissions revoked. In green you can see both, current permissions and past permissions where the user was once granted access to a dataset.
- If you want to revoke access to a user with current permissions to a dataset by clicking the "revoke permissions" slide button. You will have to write a message explaining why you are revoking permissions to that users and then click DONE.


The way to distinguish between current permissions and old permissions is the possiblity to revoke access. You can only revoke access to users with active permissions.

